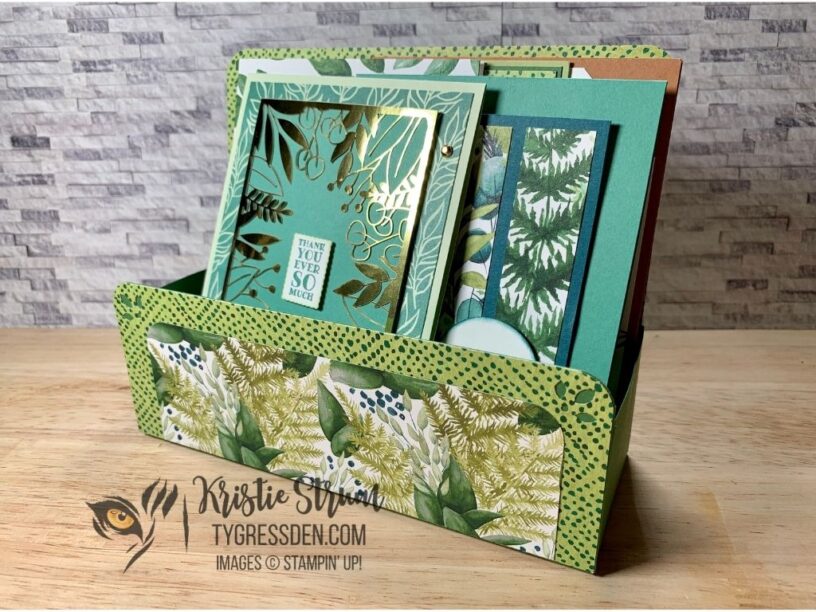


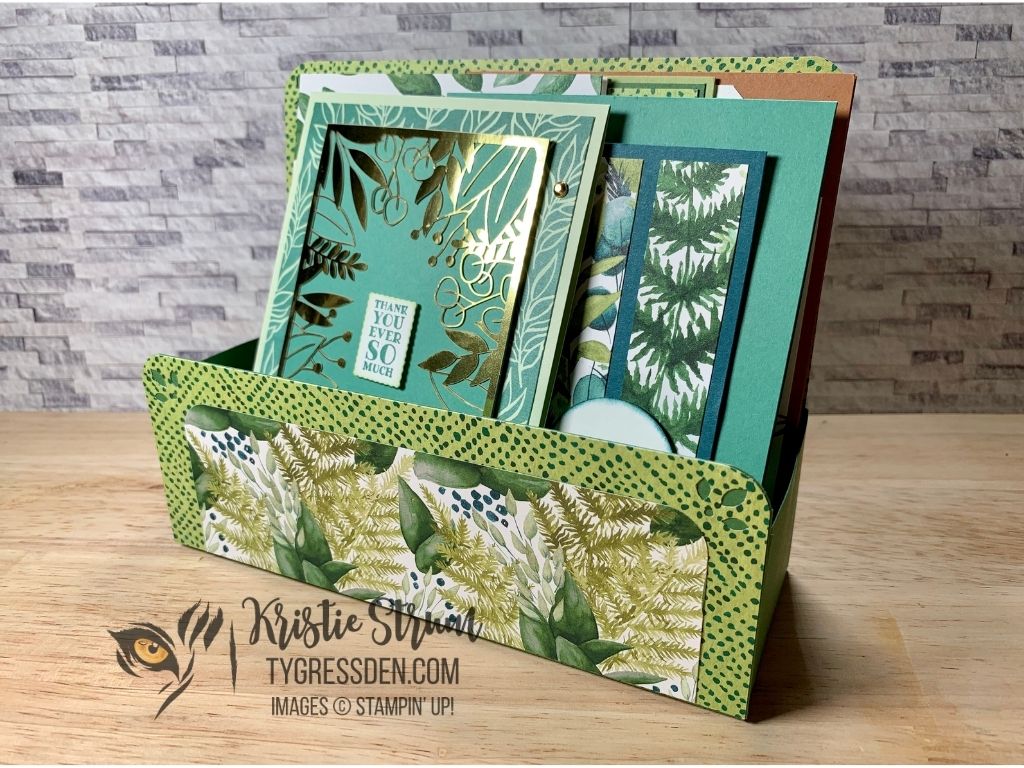
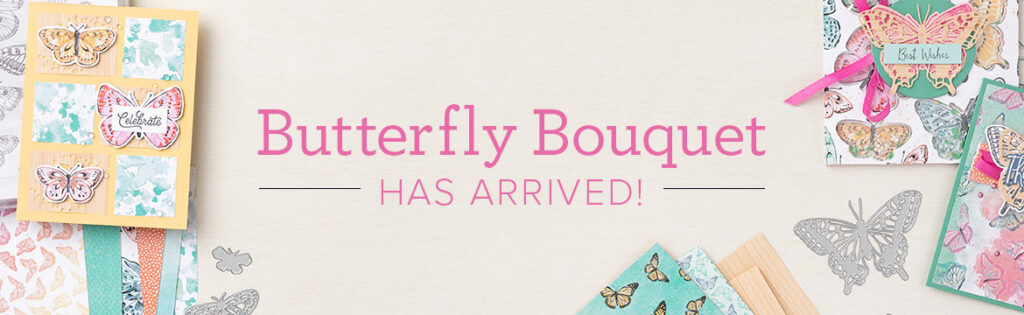
A few weeks ago, I was flipping through a several-years-old UK craft magazine I checked out randomly from my library’s e-magazine selection just to see how the process works on a new platform. I came across a box that I thought would be fun to adapt, and that’s what we have here.
I sort of wish now that I had made it a little smaller so that 6″ x 6″ Designer Series Paper would work, but I think that just means it’s an opportunity for a future project you can expect to see in the next few weeks.
I created this on March 15, 2021, during a Facebook Live. It’s also on my YouTube channel.
The measurements I used are as follows.
- Three pieces of cardstock:
- 6-1/2″ x 11″, scored at 2″ all around
- 6-7/8″ x 5-1/2″
- 6-15/16″ x 2-1/2″
- Two pieces of patterned paper to layer directly onto cardstock:
- 6-7/8″ x 5-1/2″
- 6-15/16″ x 2-1/2″
- Two pieces of patterned paper that is a half-inch shorter and one inch narrower to layer on the top:
- 5-7/8″ x 5″
- 5-15/16″ x 2″
An overview of how to put it together follows.
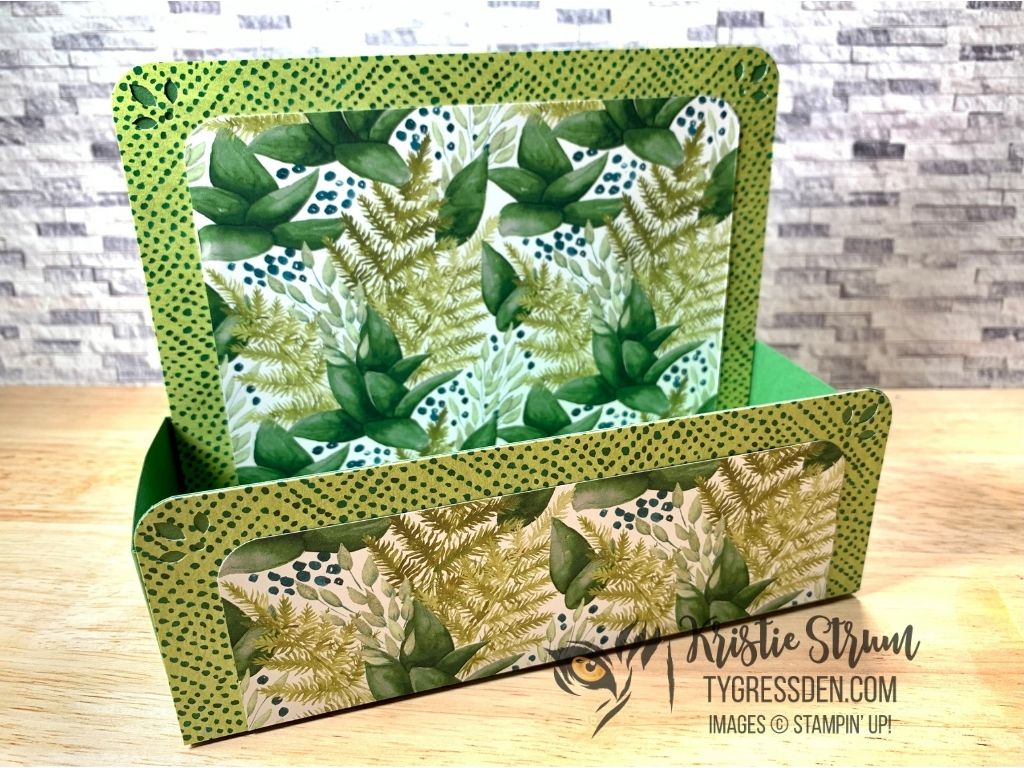
- Assemble simple box with the scored piece of cardstock.
- Round the top left and right corners of the other two pieces of cardstock and the coordinating patterned paper with the Detailed Trio Punch.
- Layer the patterned paper onto the pieces of cardstock. Add the taller one to the inside back of the box, and the shorter one to the front of the box.
Leave a Reply